Overview
Welcome to the Notus API Quickstart! Learn how to create your organization, set up a project, use your API Key, and configure fees and treasury addresses to start building in no time.
Notus API Quickstart Guide
👋 New to Notus API? Schedule a demo with our team here.
Estimated time to complete this guide: < 10 minutes
📋 Steps to Get Started with Notus APICopied!
This guide assumes you already have a Notus API account and access to the dashboard.
-
🏢 Create an Organization
-
📂 Create a Project
-
🔑 Use the API Key
-
💰 Set Fees and Treasury Address
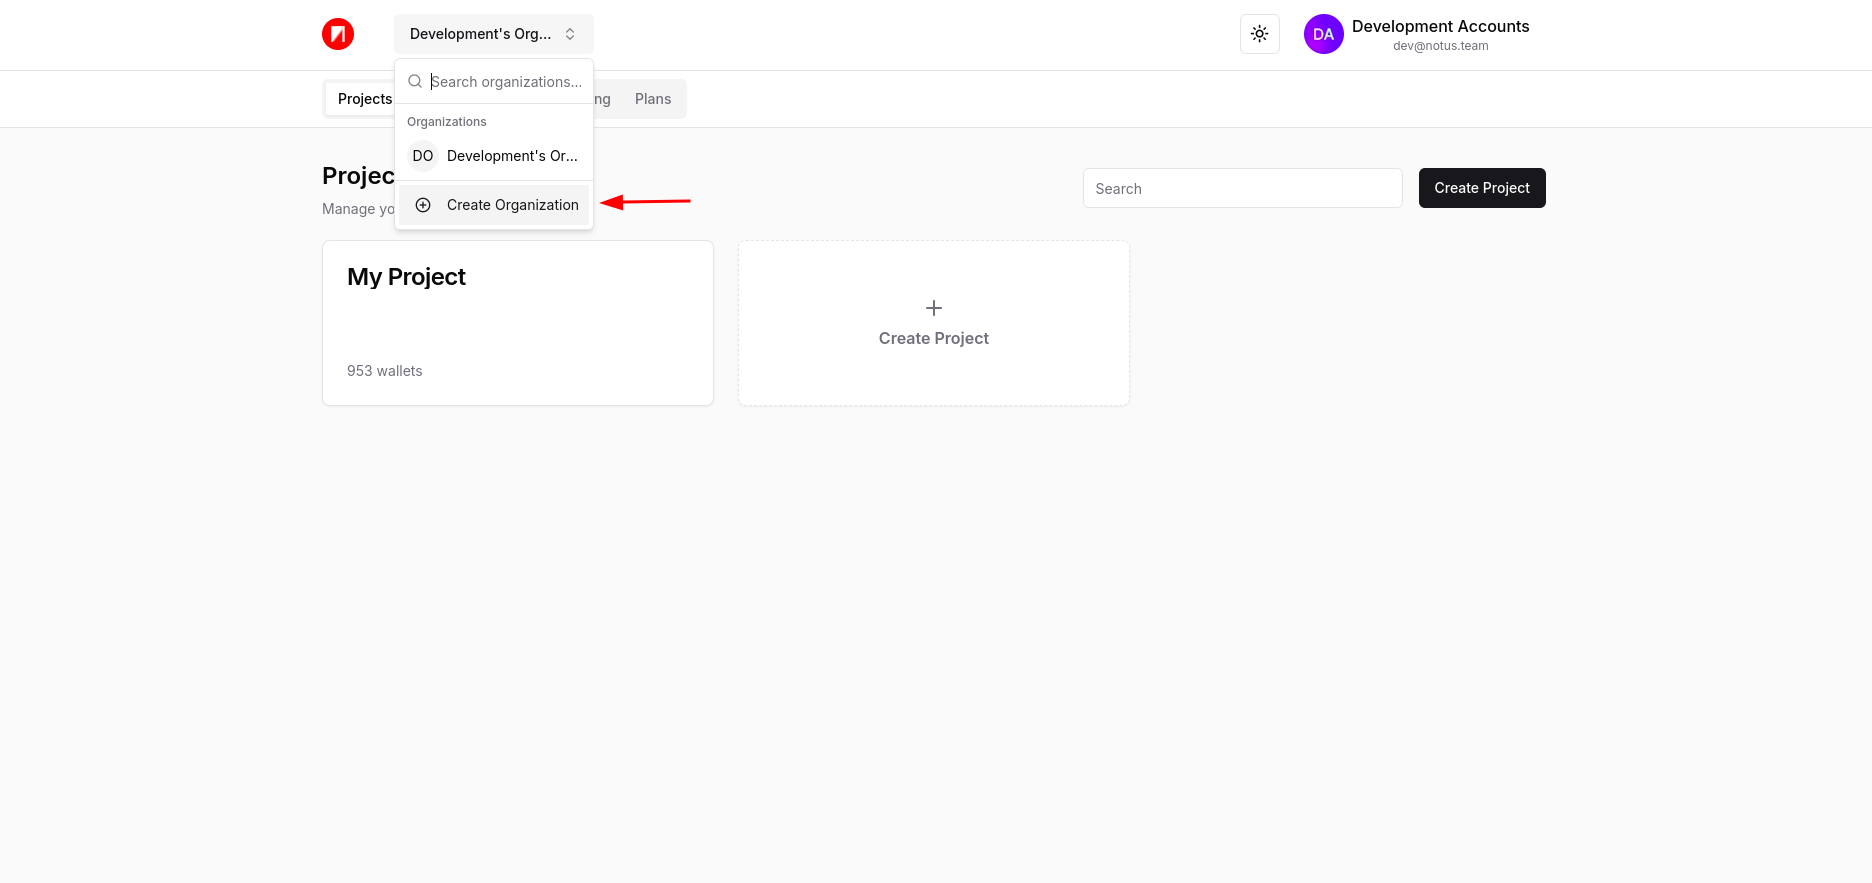
🏢 Create an OrganizationCopied!
To start using the Notus API, you need to create an organization within the dashboard. Follow these steps:
-
Navigate to your Notus Dashboard and click the on “Select“ in the upper right corner.
-
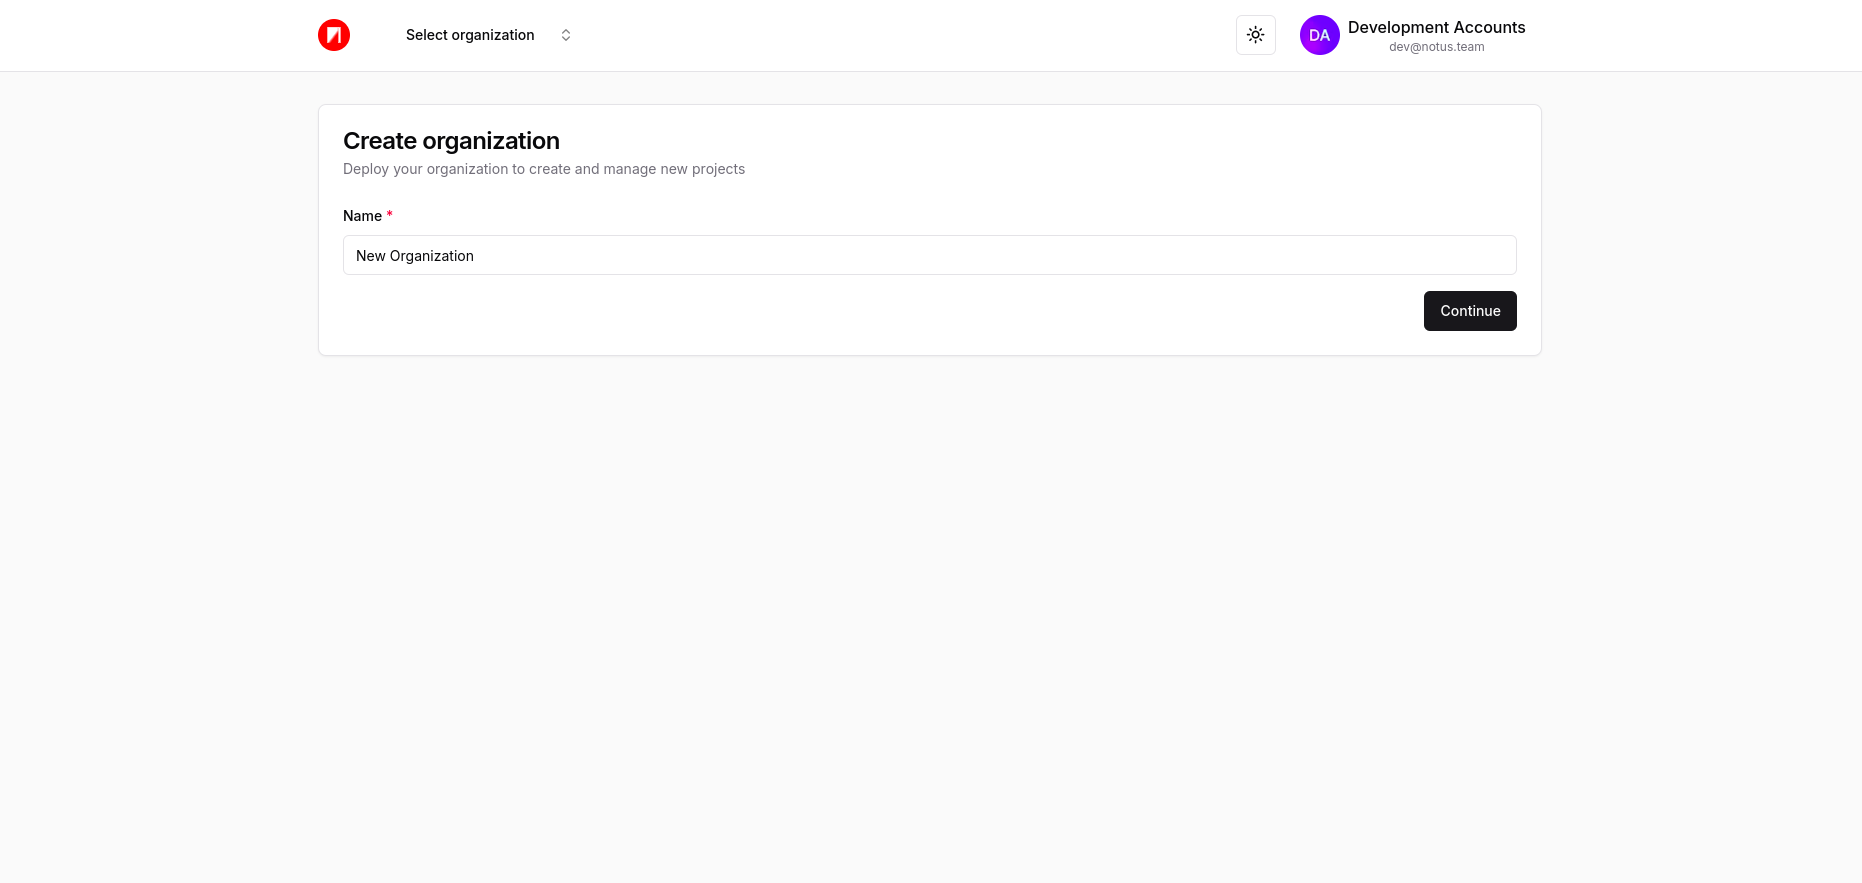
Click "Create Organization" and fill in the required details, such as organization name and description.
-
After submitting the form, your organization will be created, and you’ll be redirected to the organization details page.
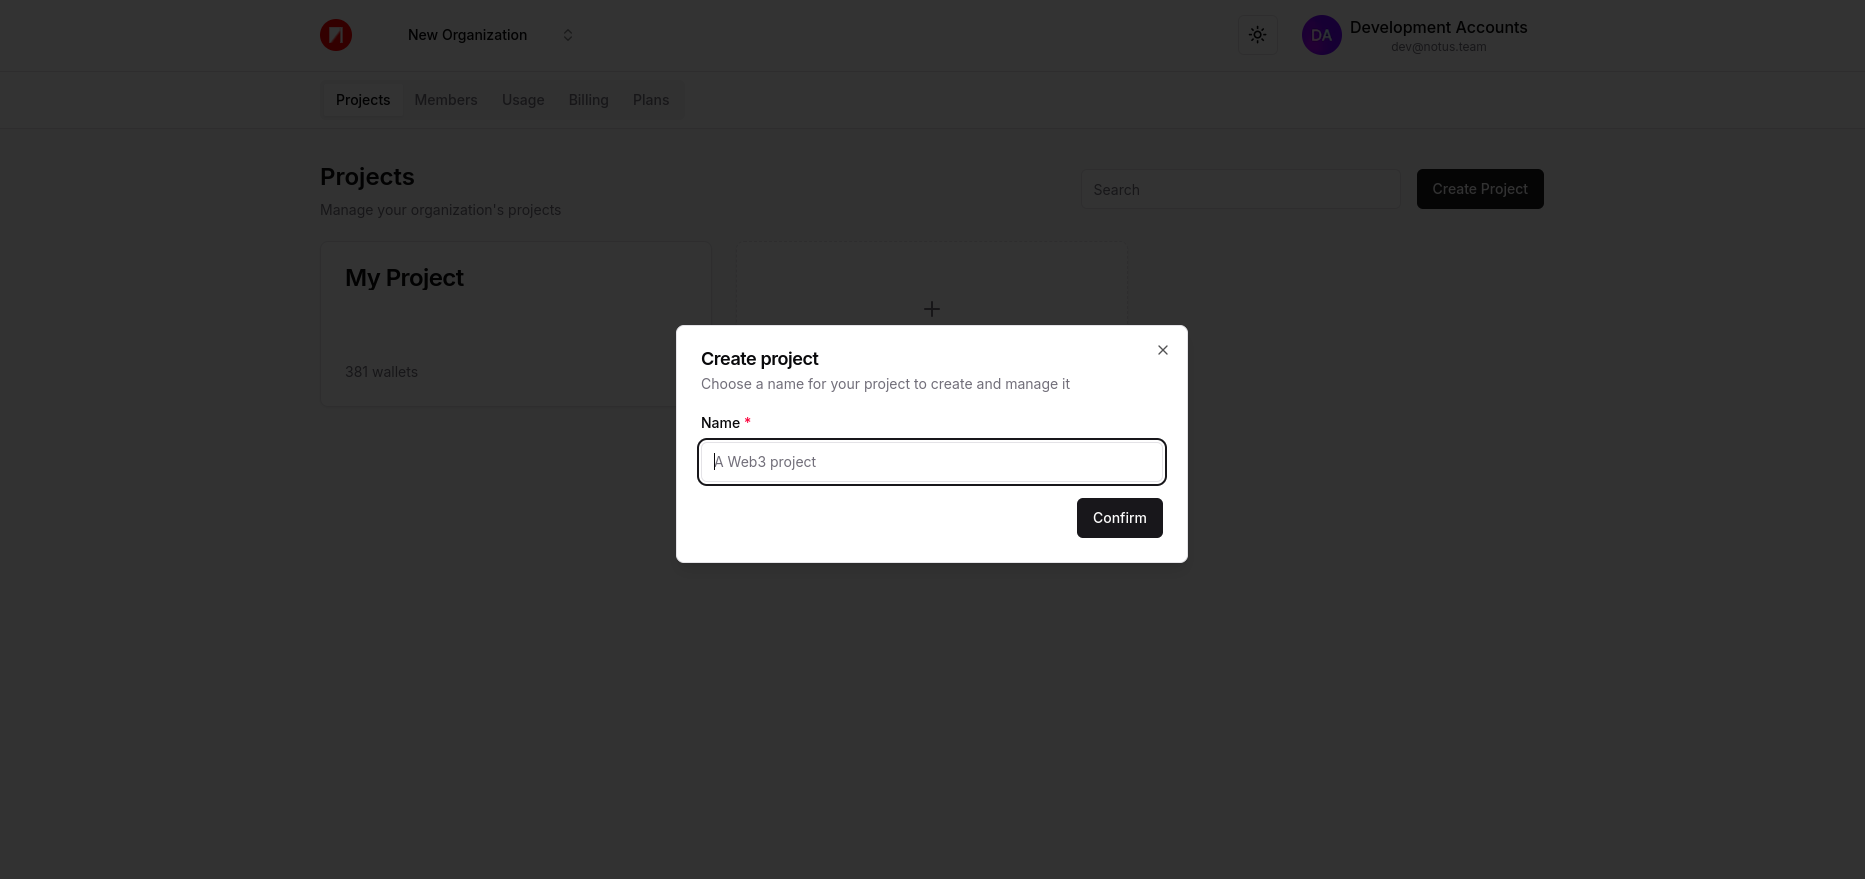
📂 Create a ProjectCopied!
Projects help organize your API usage and settings. Here’s how to create one:
-
In the Dashboard, after creating an organization, click on the “Create Project” button or card to proceed."

-
Once you click "Confirm", your project will be set up, and an API Key will be generated automatically.
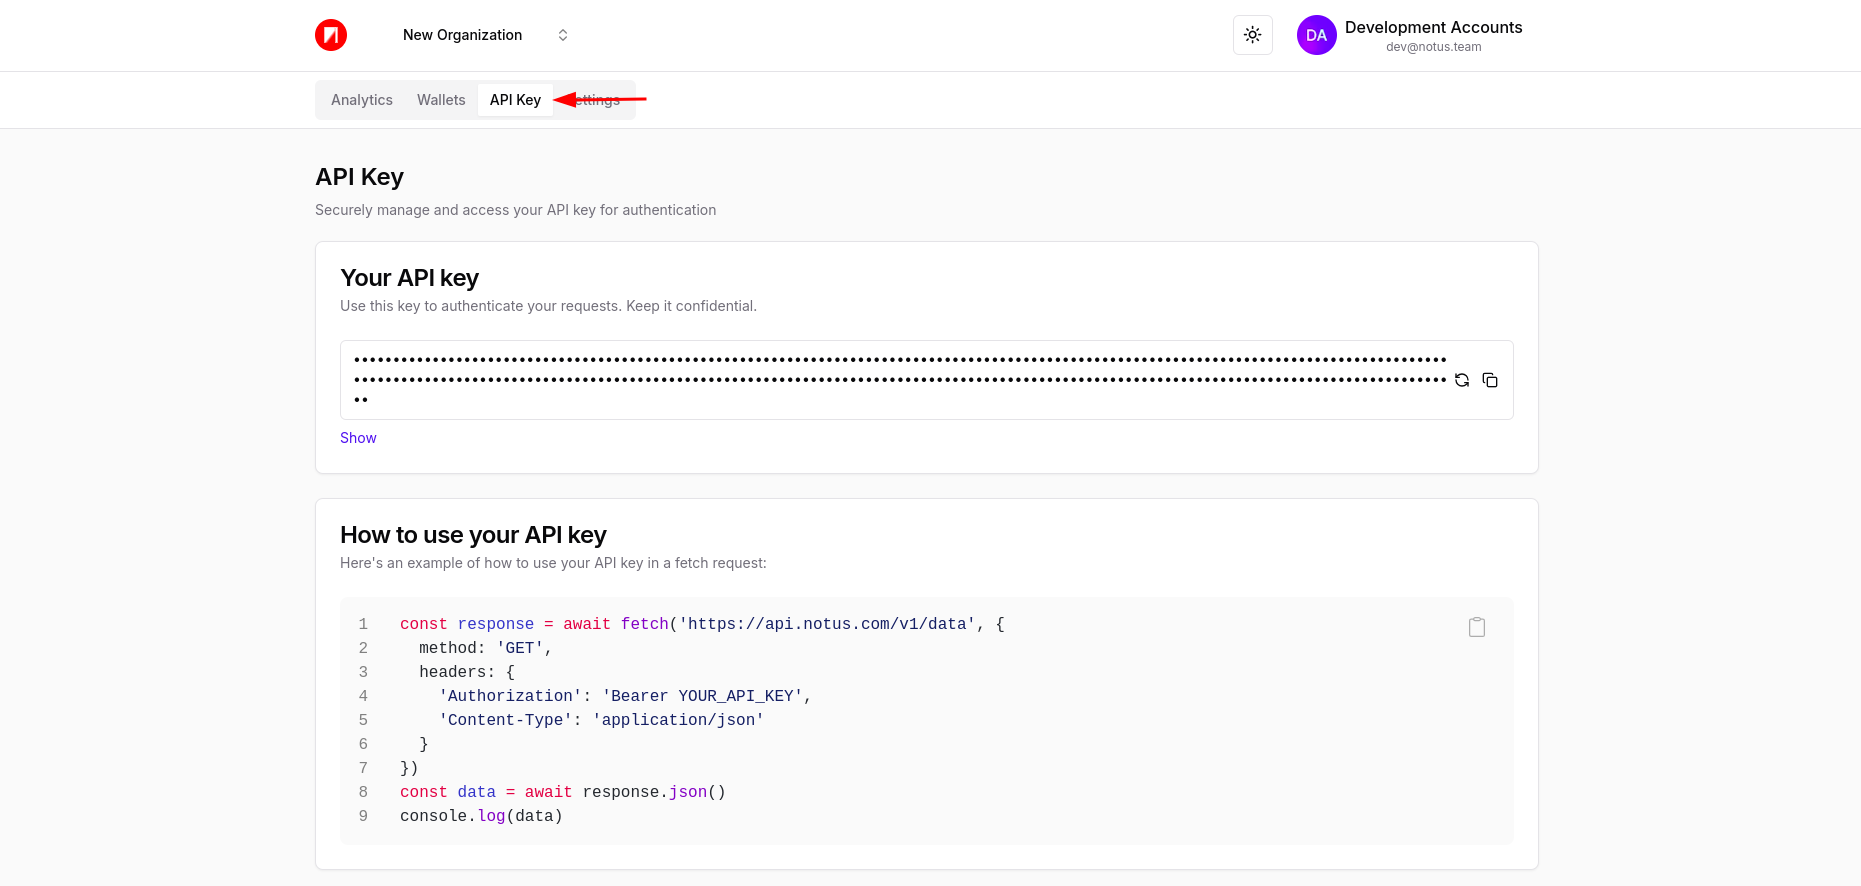
🔑 Use the API KeyCopied!
Your project’s API Key is the key to accessing Notus API features. Here’s how to find and use it:
-
Once the project is created, the API Key is generated automatically.
-
You can view the API Key in the project details page, under the "API Keys" section.
-
Use this key to authenticate your requests to the Notus API.
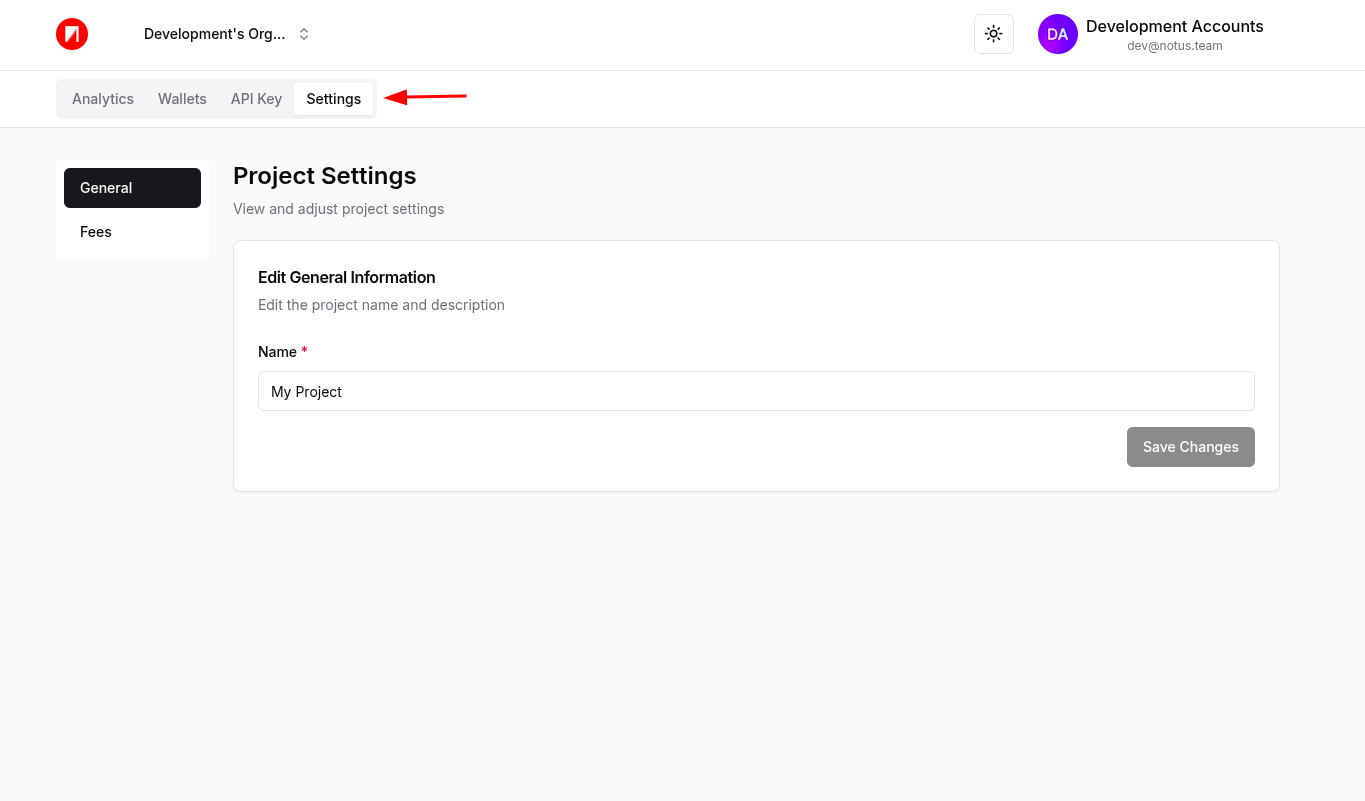
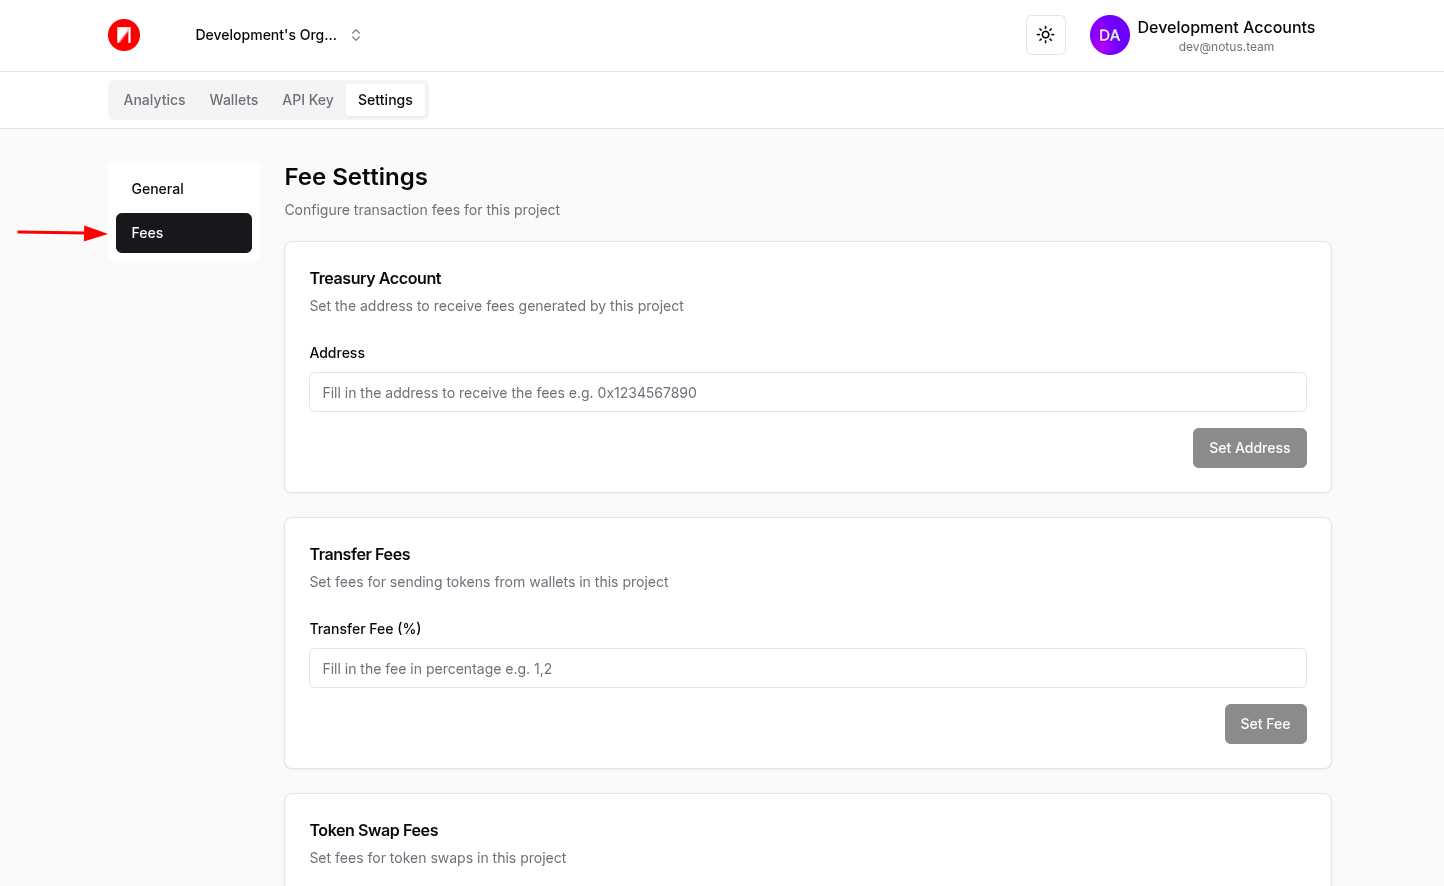
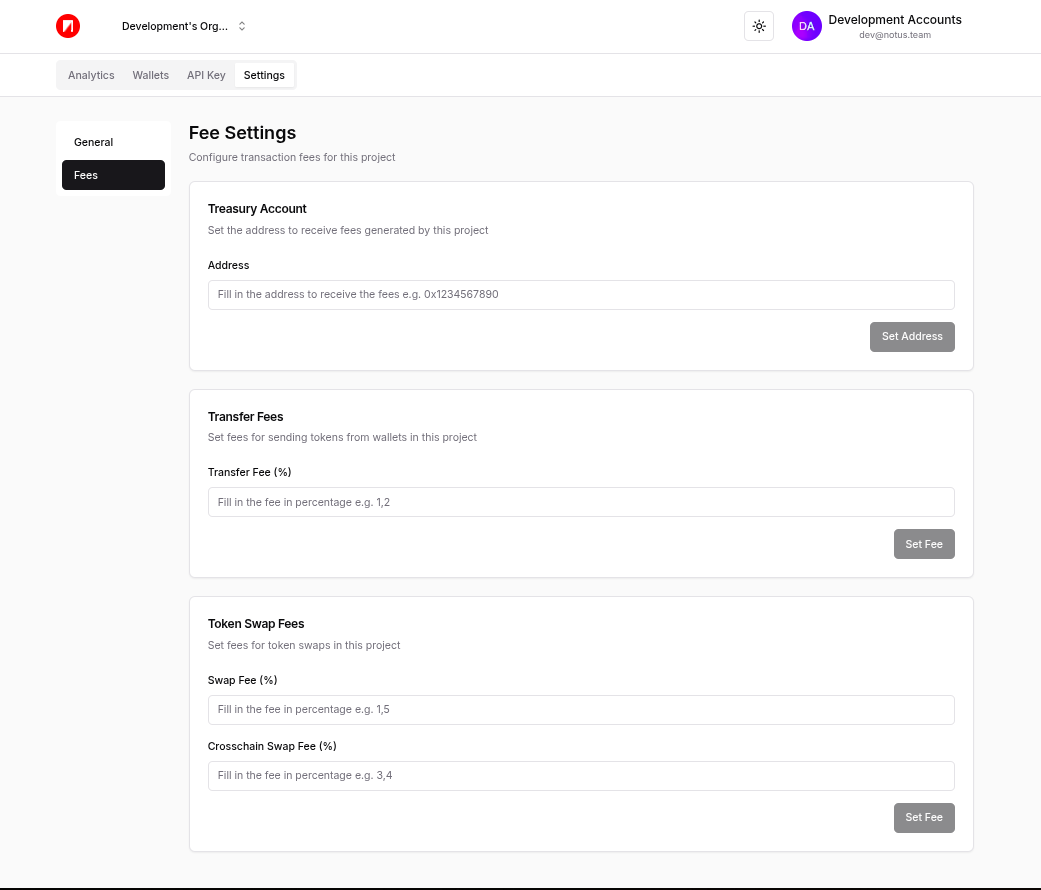
💰 Set Fees and Treasury AddressCopied!
Customize your project settings by configuring fees and the treasury address:
-
Go to the Project Settings in the dashboard.
-
Click the "Fees" tab.
-
Set the fee percentage and input the treasury address where funds should be sent.
-
Save your settings, and you’re all set to process transactions.
Here’s an example of the configuration screen:
🚀 Start Building!Copied!
Ready to dive in? Check out these two quick tutorials to get familiar with the Notus API and start integrating it into your projects:
Integrating Notus with MetamaskIntegrating Notus with Web3AuthFinished the tutorial? We’d love to hear your thoughts! Share your feedback with us on LinkedIn.